
Ultimate Guide to Making Sensory Play Slime: Our trays and stands make this EASY - one for the bigger kids!
- busylittlefingers0
- Nov 21, 2025
- 3 min read
Sensory play slime offers a fun, hands-on way for children to explore textures, colours, and creativity. Making slime at home can be a simple, rewarding activity that encourages learning through play. Yet, the experience becomes even better when paired with the right tools. Using our specially designed tuff trays and stands can keep the mess contained, organise materials, and enhance the overall sensory experience. This guide walks you through making sensory play slime and explains why our trays and stands are the perfect match for this activity.
THIS DOES CONTAIN REAL GLUE SO IS NOT TASTE SAFE. MIGHT BE BETTER FOR THE BIGGER KIDS :)
How to Make Sensory Play Slime
Creating slime for sensory play involves a few simple ingredients and steps. The process is straightforward, making it accessible for kids and adults alike.
Ingredients You Will Need
White or clear school glue (about ½ cup)
Baking soda (1 teaspoon)
Contact lens solution containing boric acid (1 tablespoon)
Food colouring or liquid watercolours
Optional: glitter, small beads, or foam balls for texture
Step-by-Step Instructions
Pour the glue into a mixing bowl. Use a bowl that fits comfortably on your tray to avoid spills.
Add food colouring or liquid watercolours. Stir until the colour is evenly mixed.
Mix in the baking soda. This helps the slime firm up.
Slowly add the contact lens solution. Stir continuously. The slime will start to form and pull away from the sides of the bowl.
Knead the slime with your hands. It should become less sticky and more stretchy.
Add texture elements if desired. Mix in glitter or small beads for extra sensory stimulation.
Tips for Success
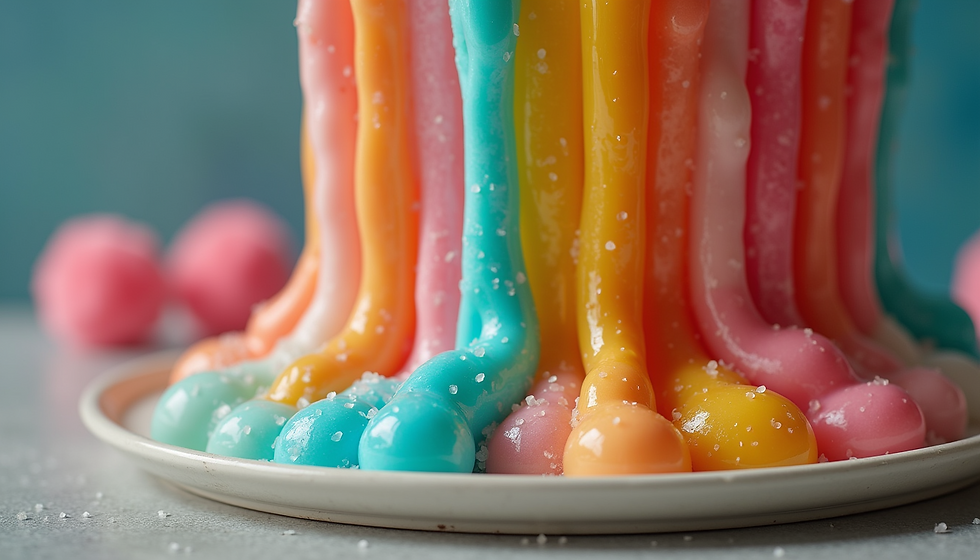
Use clear glue for a more translucent slime that kids love to watch stretch and bubble.
Adjust the amount of contact lens solution to get the slime consistency you want.
Always supervise children during slime-making, especially when using boric acid-based solutions.
Why Our Trays and Stands Are Ideal for Sensory Play Slime
Slime can get messy, and managing the play area is crucial to keep the fun going without stress. Our trays and stands are designed with sensory play in mind, offering several benefits.
Contain the Mess
Our trays have raised edges that prevent slime from spilling onto tables or floors. This feature keeps the play area clean and makes cleanup easier.
Organise Materials
The trays come with compartments or sections to hold ingredients and tools. This organization helps children focus on the activity without losing small items like beads or glitter.
Provide a Stable Surface
The stands elevate the trays to a comfortable height for children, reducing strain and encouraging longer play sessions. The non-slip bases keep everything steady during mixing and kneading.
Enhance Sensory Experience
The textured surfaces of some trays add an extra layer of tactile stimulation. Kids can press slime against these textures to explore new sensations.

Practical Ideas for Using Trays and Stands with Slime
Themed Slime Stations: Set up different trays with various slime colors and textures. Kids can rotate between stations, exploring new sensory experiences.
Group Play: Use multiple stands to create a slime-making workshop. Each child has their own organized space.
Outdoor Play: The trays are portable and easy to clean, making them perfect for outdoor slime activities where mess is less of a concern.
Storage and Drying: After play, the trays can hold slime pieces to dry or be stored temporarily without sticking to surfaces.
Safety and Cleanup Tips
Always wash hands before and after slime play.
Use our tuff trays to catch drips and spills, making cleanup faster.
Store slime in airtight containers when not in use to keep it fresh.
Avoid using slime on carpet or fabric surfaces to prevent stains.
Be careful of other items used and make sure it is age appropriate to avoid choking hazards.
Our trays and stands simplify these steps by providing a dedicated, easy-to-clean workspace.

Comments